
The first group selfie looks fine until someone says, “Where's Maya?” You can see half her eye behind a shoulder. Before taking another dozen photos, fix the arrangement.
Make every face visible first. Place the phone-holder slightly forward and the others in a shallow arc. Ask the back row to move sideways into gaps, not just stretch upward. Leave a little space around the outer heads for the final crop. The five-person photo above illustrates the arrangement.
Build the group around the smallest screen
Open your front camera and check each face on the screen. Count from left to right. If one face disappears at selfie distance, it will not reappear when the picture becomes a tiny story thumbnail. For four or five people, two shallow rows usually beat a single tight line. Keep the front row from leaning back into the people behind them.
Raise the phone only enough to see eyes. A very high angle may fit the group while turning everyone into a forehead. If a person's face sits at the edge, switch to a wider front-camera view if your phone offers one. Apple documents automatic group framing on supported iPhones, but the feature depends on the model and your settings; it is no substitute for checking the edges yourself. 1
| Group size | Fast arrangement | First thing to inspect |
|---|---|---|
| Two or three | Heads near the same distance from the phone | No face pressed against an edge |
| Four or five | Shallow arc or two offset rows | Every pair of eyes visible |
| Six or more | Prop the phone and use a timer | Hands, knees and outer people inside the crop |
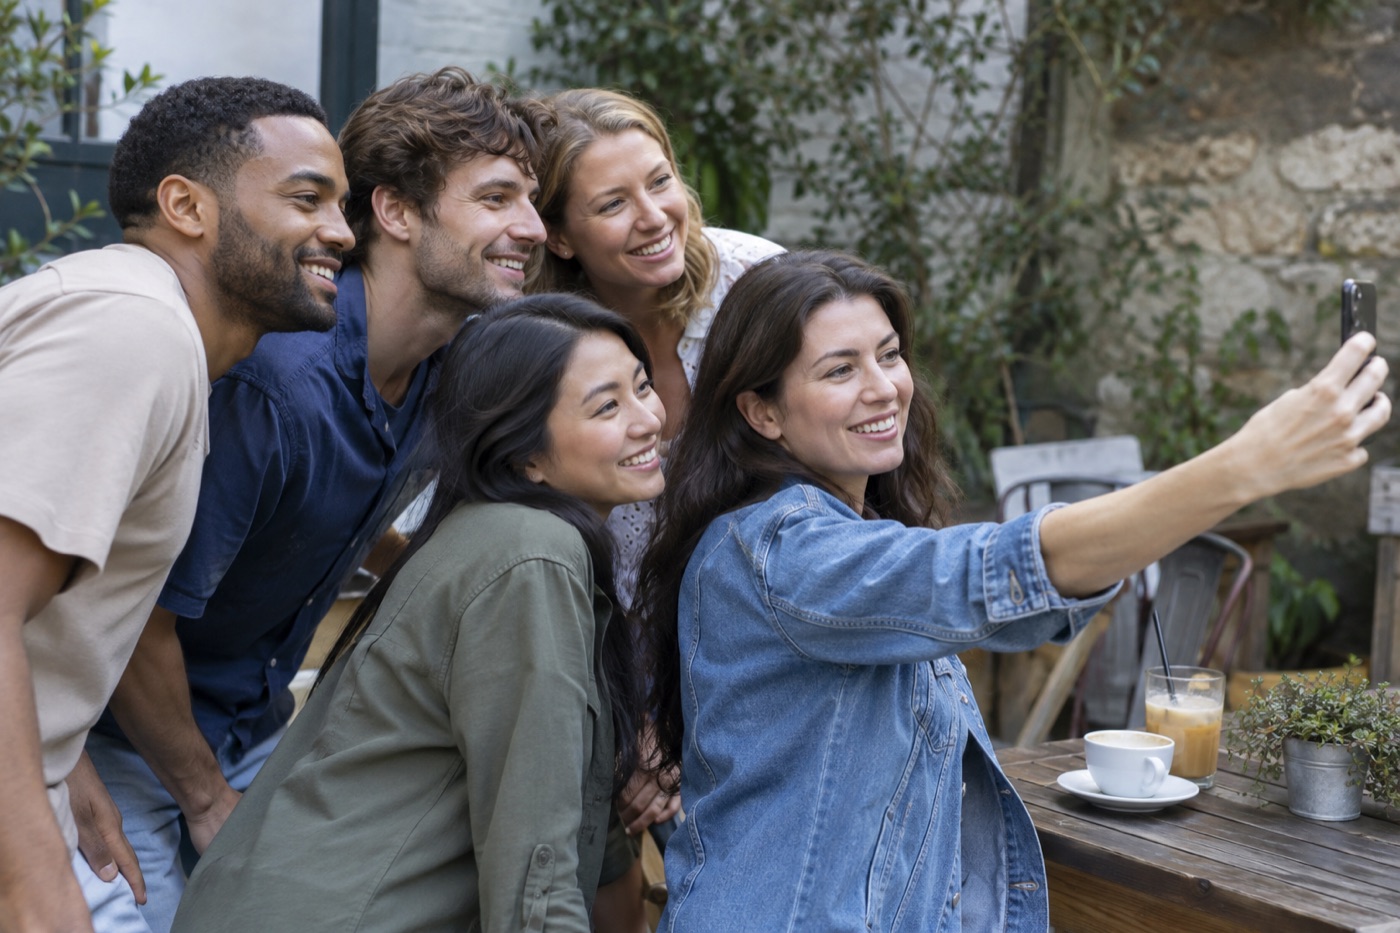
Illustration: the back row shifts into the spaces between front-row faces.
When the arm is not long enough
For a larger group, stop treating it as an arm's-length selfie. Prop the phone securely, use its timer, and step into the scene. Google's Pixel camera help documents a selfie timer and hands-free options on supported devices. 2 An iPhone timer or remote shutter can serve the same purpose. The important change is camera distance, not the brand of phone.
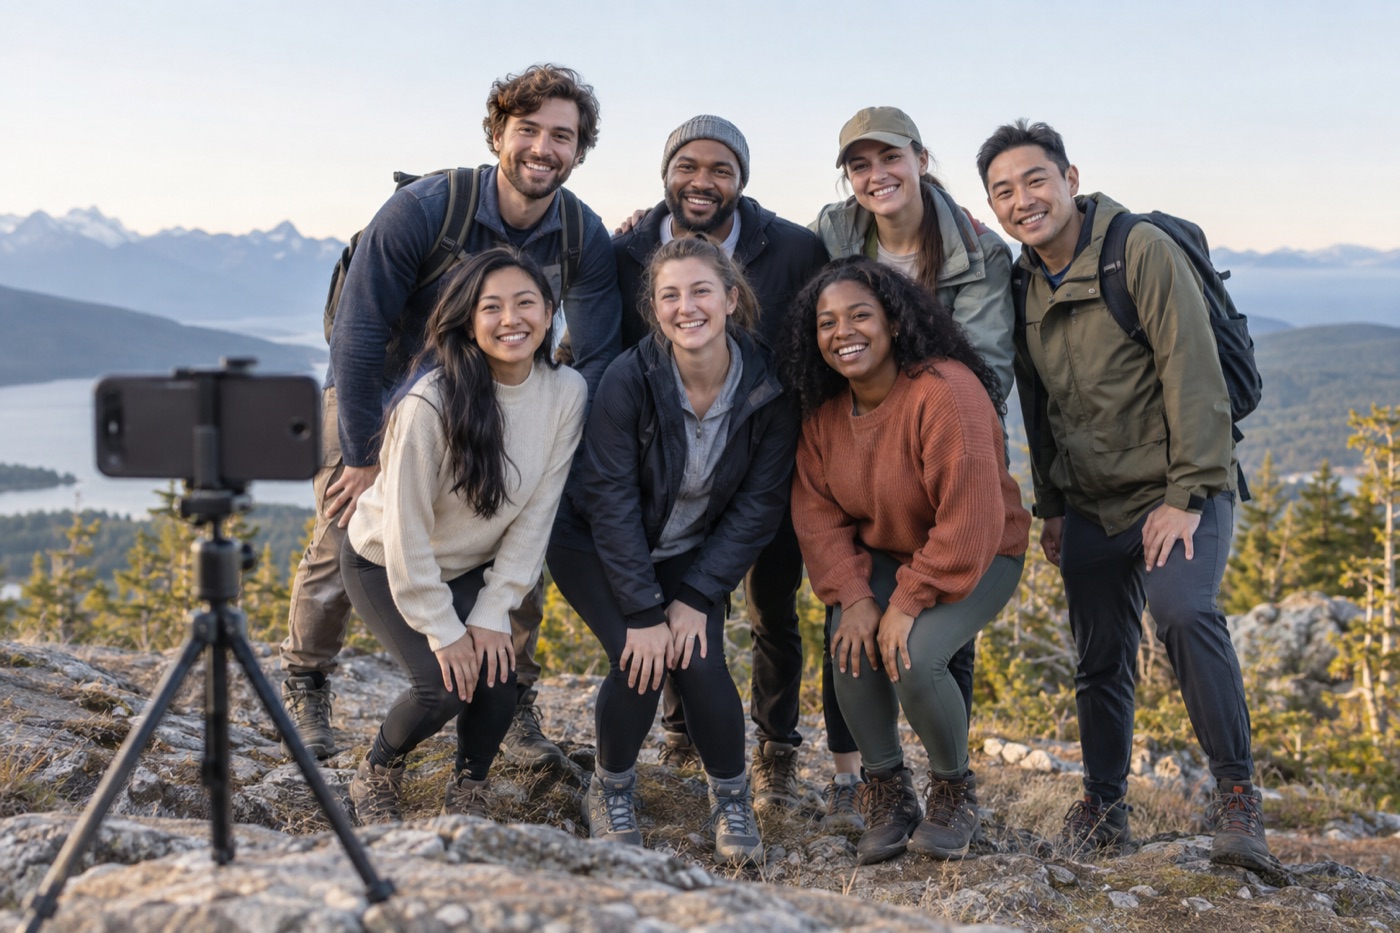
Illustration: a timer and more camera distance give a larger group room to fit.
Take three frames. In the first, everyone looks at the lens. In the second, ask people to lean toward each other without hiding a face. In the third, relax the pose. Check sharpness on the person farthest from the phone, since it is easy to choose a lively image in which the back row is soft.
For a solo portrait after the group photo, use the front-versus-rear camera guide. It covers a different decision: which lens to use when one person, rather than a whole group, is the subject.
If you are still working on light and framing before bringing friends into the shot, start with the basic selfie recipe.
Keep this before posting: count faces, check outer edges, check the back row, then crop.