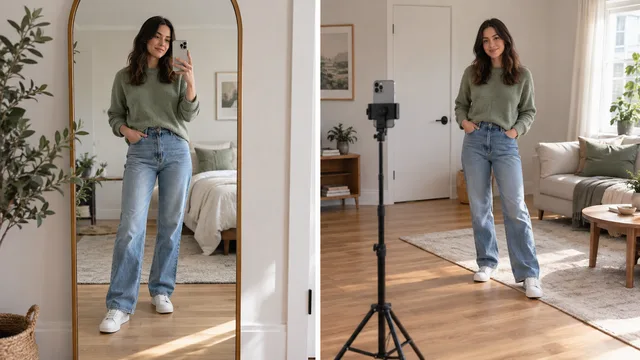
A good selfie starts with three changes: face a window, move the phone a little farther away, and hold the camera near eye level. Make those changes before you add a filter.
The fastest way to improve is to change one variable at a time. Take a frame, adjust the light, take another, adjust the distance, then adjust the crop. You will know which change actually helped.\n
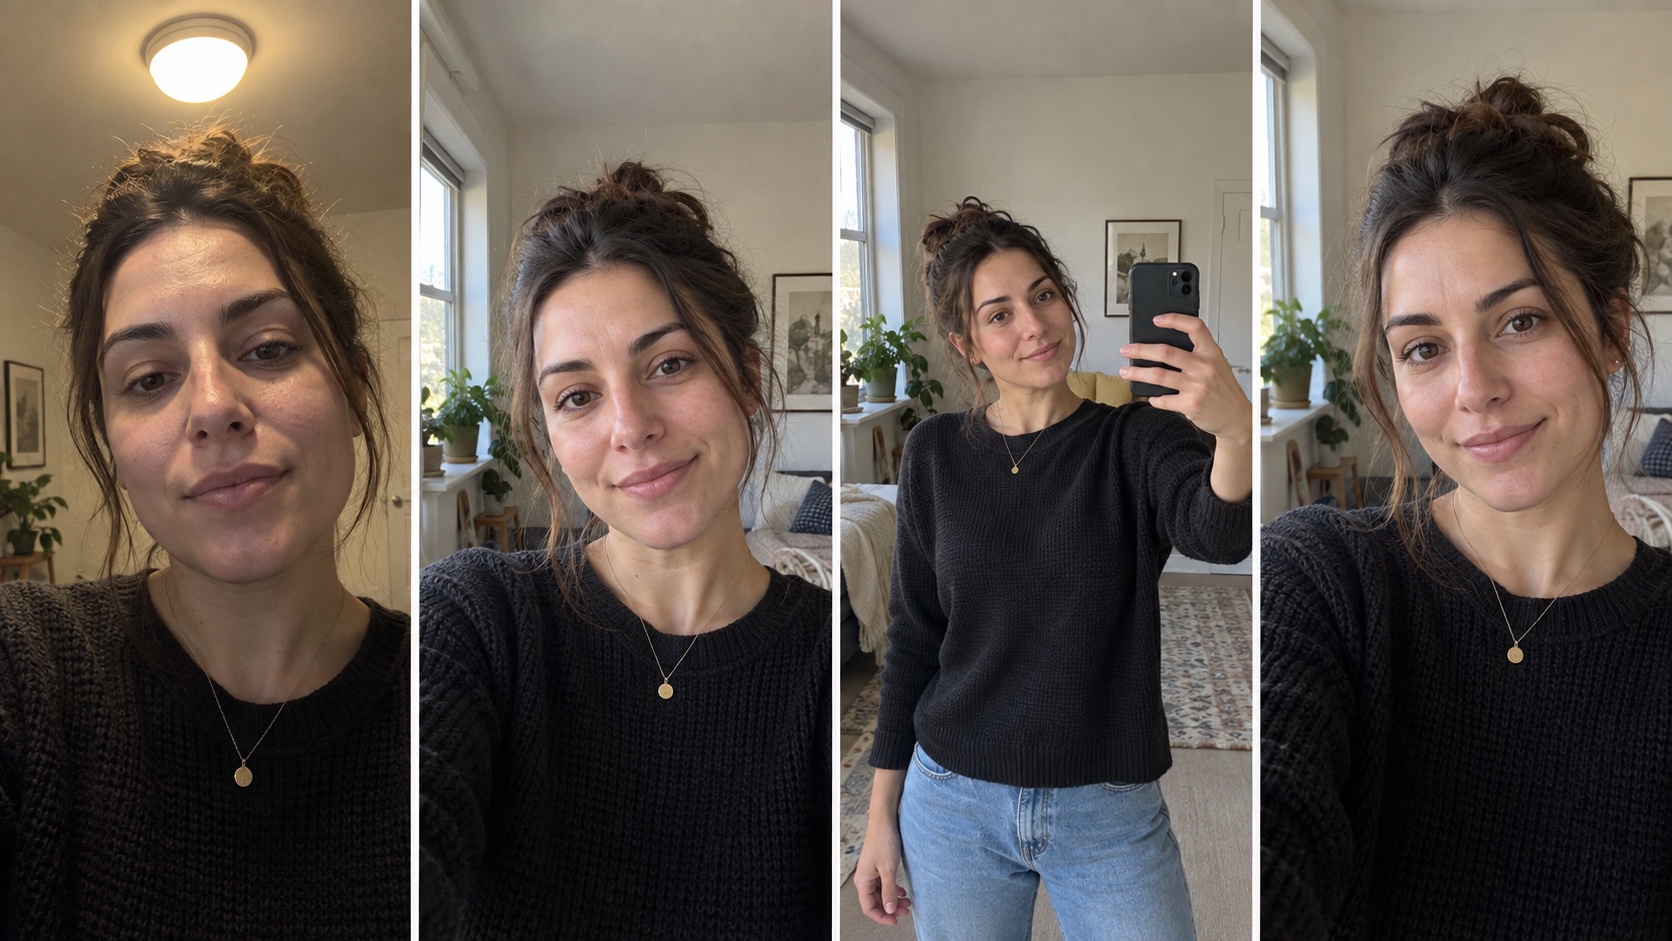
The four-frame selfie test
Take four photos in the same room, wearing the same clothes, with the same expression.
- Stand under the room's overhead light and take a close selfie.
- Turn toward a window and take the same frame.
- Keep the window light, move the phone farther away, and hold it near eye level.
- Keep that setup and refine only the crop and expression.
Compare the frames in that order. The goal is not to pick your favorite face. It is to see what light, distance, and framing do.
Step 1: Face soft light
Stand about one arm's length inside a window and face it. If direct sun creates hard shadows, move sideways or use a thin curtain. Turn off a strong ceiling light if it makes dark eye sockets or a bright spot on the forehead.
Watch the eyes. Good selfie light makes both eyes easy to see without forcing you to squint.
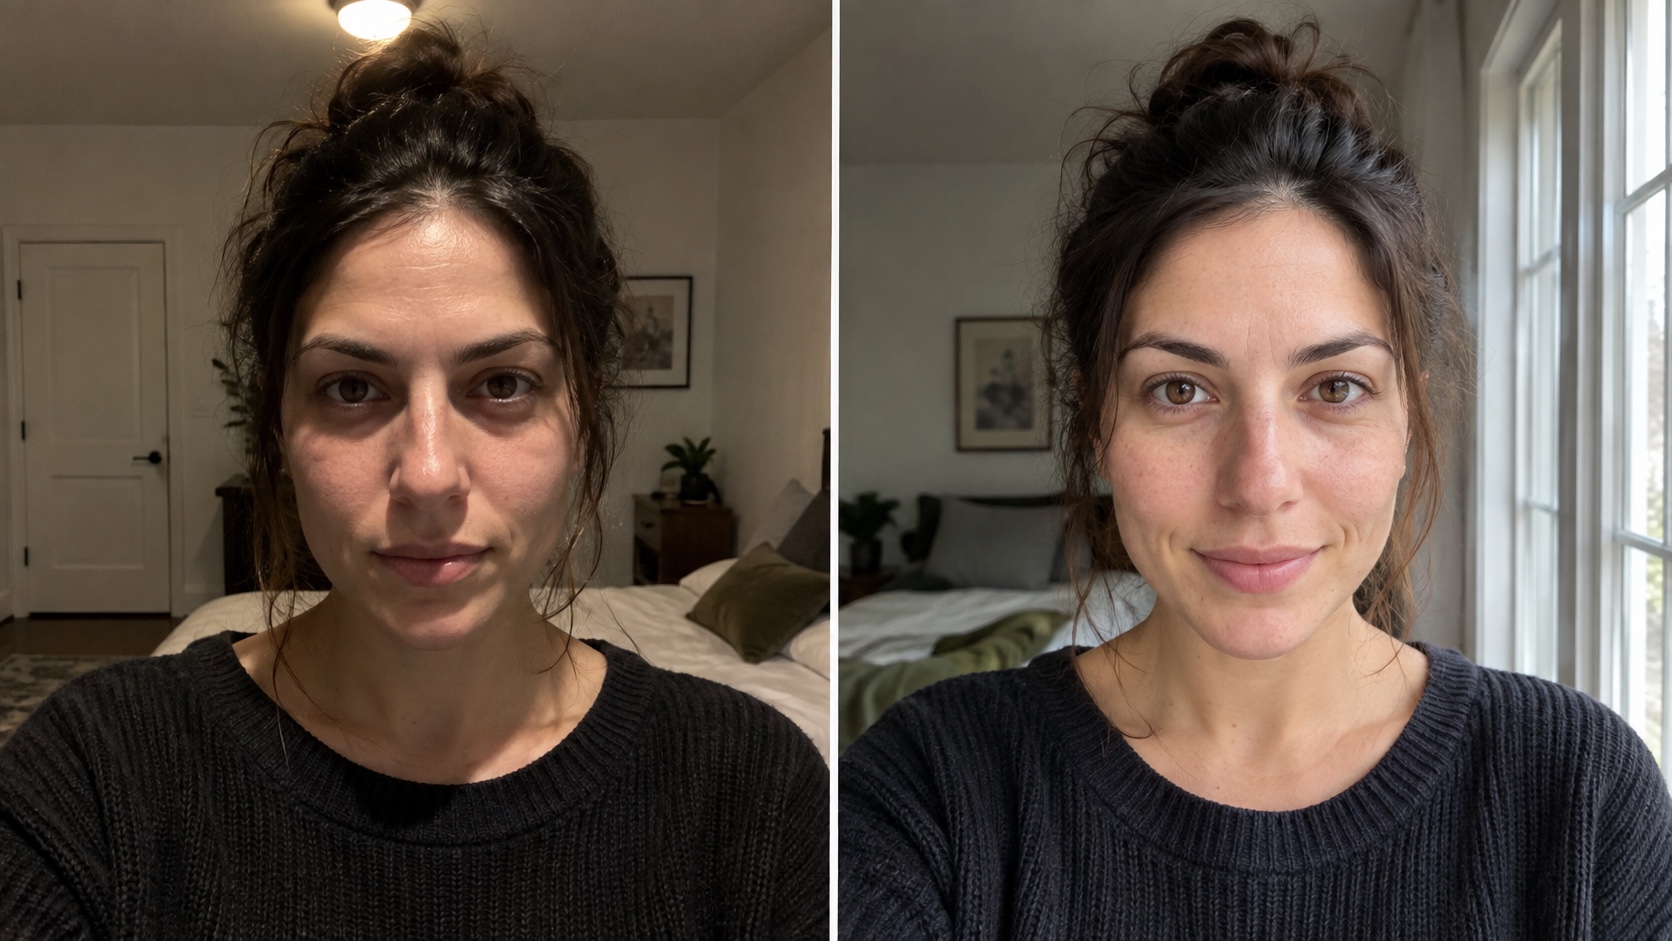
At night, use a lamp in front of you and slightly above eye level. Do not place the only light directly behind you unless you want a silhouette.
Step 2: Move the phone farther away
A phone held very close can make the center of the face look larger relative to the ears and sides. That is perspective, not a flaw in your face.
Peer-reviewed research found that camera distance changes facial perspective and can affect how a face is judged.1 Moving the camera farther away reduces that near-camera distortion.
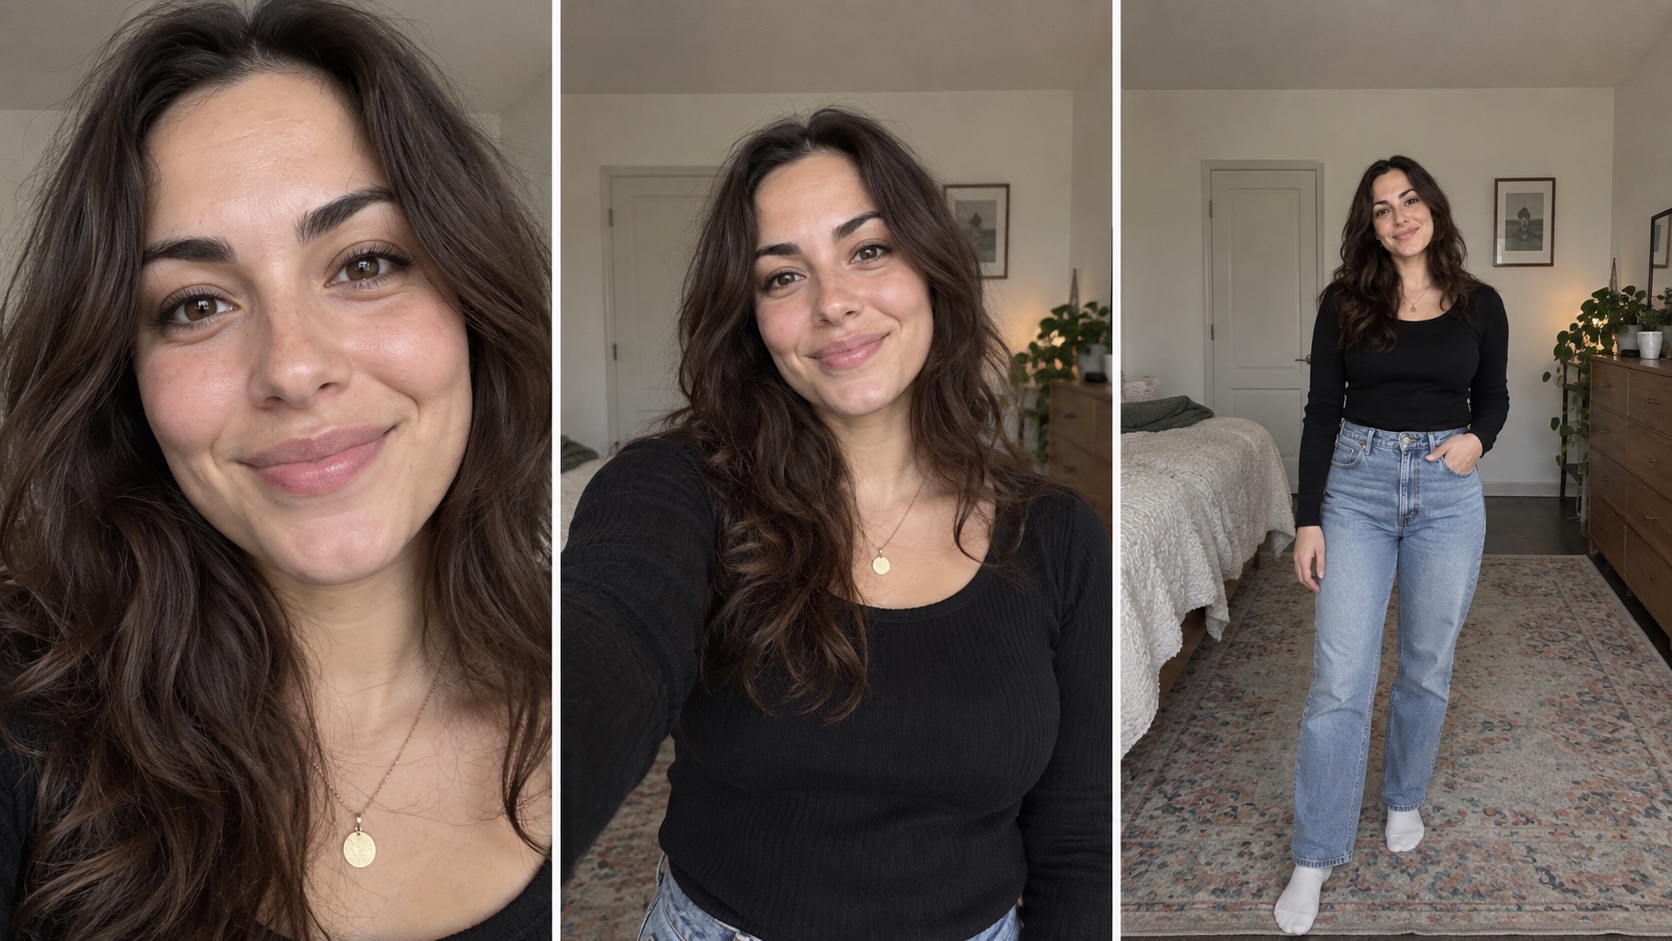
Try holding the phone at comfortable arm's length. If you want an even more natural perspective, place it on a stable surface, use a timer, and step back. Google also recommends a stable setup and offers timer and hands-free options for Pixel selfies.2
Do not zoom digitally just to make your face fill the screen. Take a slightly wider photo and crop afterward.
Step 3: Put the camera near eye level
Start with the lens level with your eyes. Then move it only a few centimeters up or down.
A camera far below the chin can make the lower face dominate. A camera far above the eyes can shrink the jaw and turn the picture into a familiar social-media angle. Either can be a style, but eye level is the best neutral starting point.
Look at the lens for a direct portrait. Look at the screen if you want a softer off-camera gaze. Decide before pressing the shutter so your eyes do not land awkwardly between the two.
Step 4: Use the grid and timer
Turn on the camera grid. Place the eyes near the upper horizontal line and keep the face away from the extreme edge of a wide lens.

Apple's camera tools include a timer, grid, level, and aspect-ratio controls.3 These tools are more useful than another beauty filter because they improve the capture itself.
Use a three-second timer when tapping the shutter makes the phone move. For a hands-free portrait, prop the phone securely and use the longer timer.
Step 5: Frame for the destination
For a profile picture, leave room around the head and shoulders so a circular crop does not cut into hair or ears. For a story or vertical post, include more background above and below. For a dating profile, use at least one frame that clearly shows your face without sunglasses or a group.
The full-body selfie guide covers mirror and timer setups when you need more than a head-and-shoulders frame. If you are deciding between casual and professional images, see the headshot versus selfie comparison.
Step 6: Make a small expression change
Relax your jaw and breathe out just before the photo. Try three versions:
- Neutral mouth, attentive eyes
- Gentle closed-mouth smile
- Natural smile with a slight turn of the head
Do not hold a smile until it feels fixed. Take a short burst while the expression changes naturally.
Apple's current iPhone guide covers front-camera capture, portrait mode, selfie zoom, and the mirrored-photo setting.4 If your saved image looks reversed compared with the preview, check the mirror setting before taking twenty more photos.
Step 7: Edit lightly
Correct exposure, crop, and color balance first. If the skin looks gray or orange, adjust warmth before touching texture. Keep pores, lines, and the shape of your features.
Heavy smoothing often removes the small details that make a face feel present. It can also make a good photo look less trustworthy.
The how to be photogenic guide has more practice ideas for expression and posing. The selfie generator guide explains a different workflow for creating stylized results, but it should not replace learning what works in camera.
A repeatable two-minute setup
Use this order every time:
- Clean the lens.
- Face a window or soft front light.
- Hold the phone at eye level and arm's length.
- Turn on the grid and timer.
- Take neutral, gentle-smile, and natural-smile frames.
- Crop for the platform.
- Make only light exposure and color adjustments.
Save the setup that worked. The next good selfie should take less effort, not more.
If you want polished variations after you have a clear source photo, create portraits from your own photos. Start with good light and camera distance so every later version has a stronger foundation.