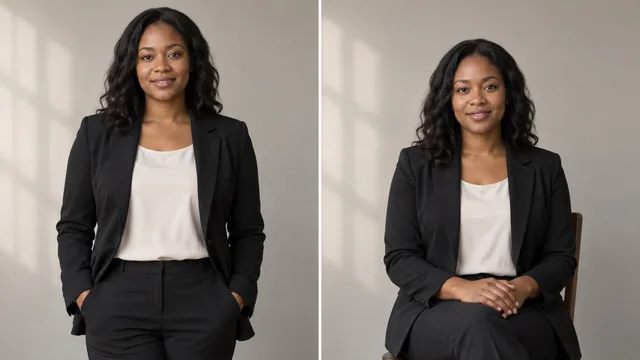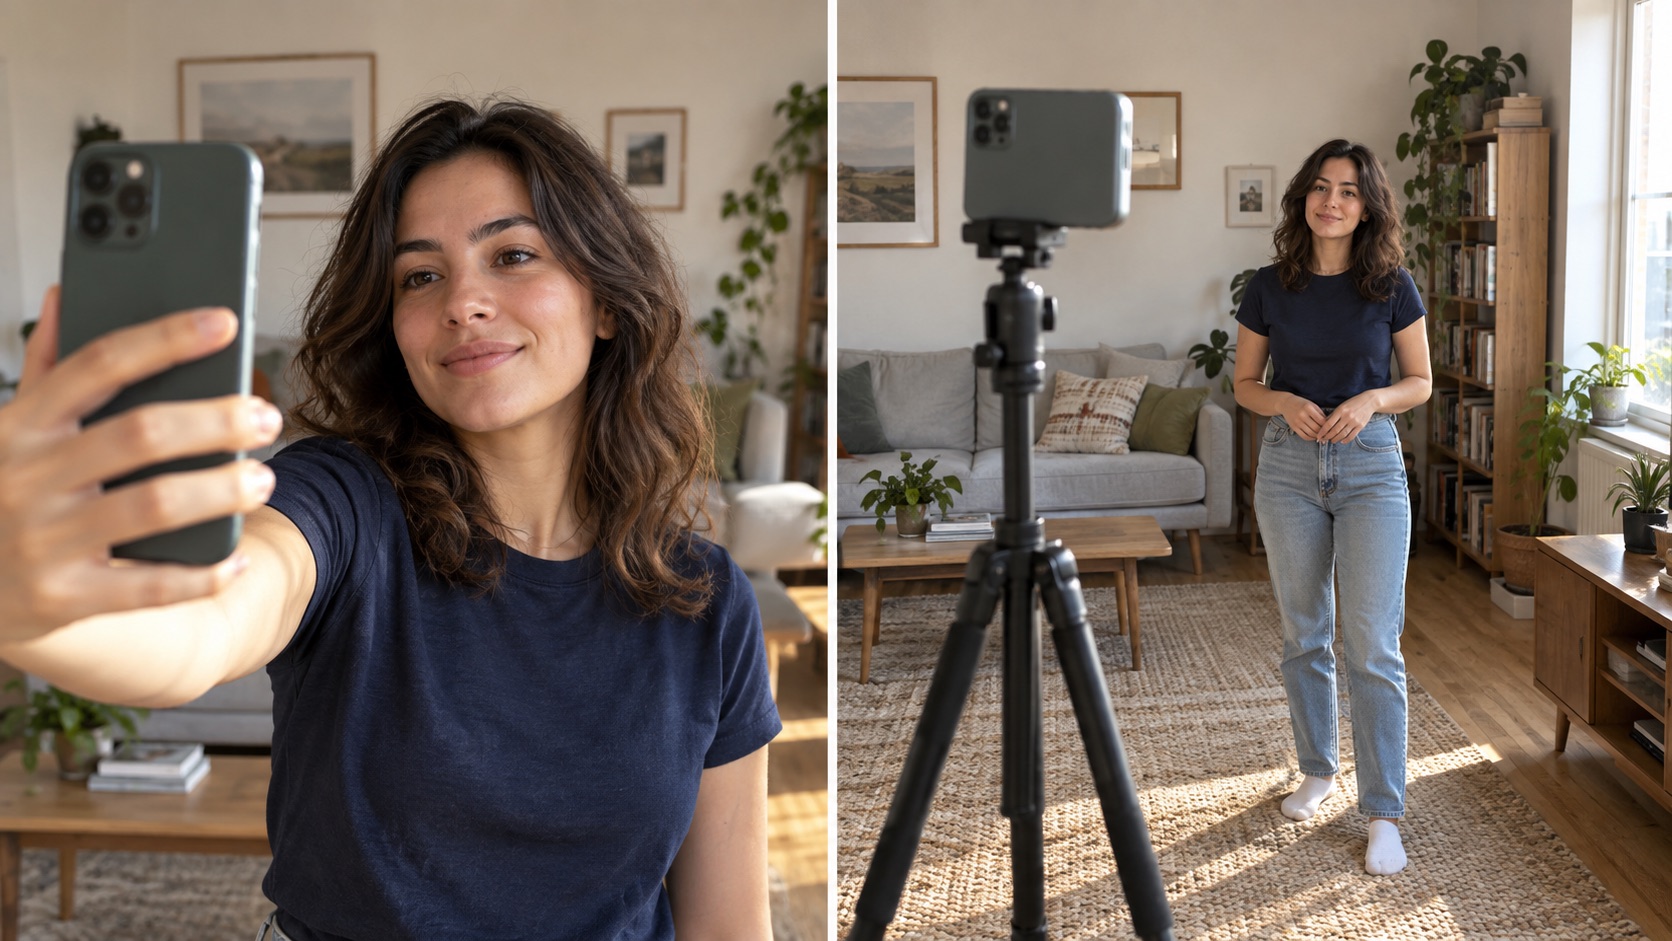
You find an expression you like in the front-camera preview. The saved selfie looks flipped. You put the phone on a shelf to try the rear camera, but now you cannot see whether your head is centered. Which shot should become your profile picture?
The front camera gives you live feedback. With the rear camera on a secure shelf or tripod, you can step back and keep both hands free. Your phone may handle the two images differently, so take three frames with each in the same light. Crop all six to a similar face size and compare them at profile-picture size.
Where each camera helps
| If you need... | Start with... | Why |
|---|---|---|
| Fast expression changes and immediate feedback | Front camera | You can see the frame while you pose. |
| A more deliberate headshot or outfit portrait | Rear camera on a stable support | You can step back, keep both hands free, and repeat the setup. |
| A quick social profile picture | Either | Expression, light, and the final square crop often decide the winner. |
The table gives you a place to start. It cannot tell you which lens on your phone makes the better picture. A well-lit front-camera photo may be more useful than a dim rear-camera photo. Adobe's phone portrait guidance recommends paying attention to camera distance and final composition, not just the lens label.1
Phone photographer Gabrielle Touchette suggests a phone stand and remote for stepping farther back, and her sample image is labeled as a front-camera photo.2 Her example is a useful reminder that stepping back and choosing a camera are two separate decisions.
Make the comparison fair
- Stay in one place with steady light. Leave your clothing and background alone between takes.
- Hold the front camera at a comfortable distance. For the rear camera, put the phone at about eye level on a tripod or secure support. Check one rear-camera test frame for clipped hair or shoulders before taking the other two.
- Frame the rear-camera shot so your head takes up about the same space after cropping. Take a neutral look, a slight smile, and one expression of your choice with each camera.
- View the six crops at the size of your intended post or profile image. Pick the expression first; then check the eyes for focus and the face for detail.
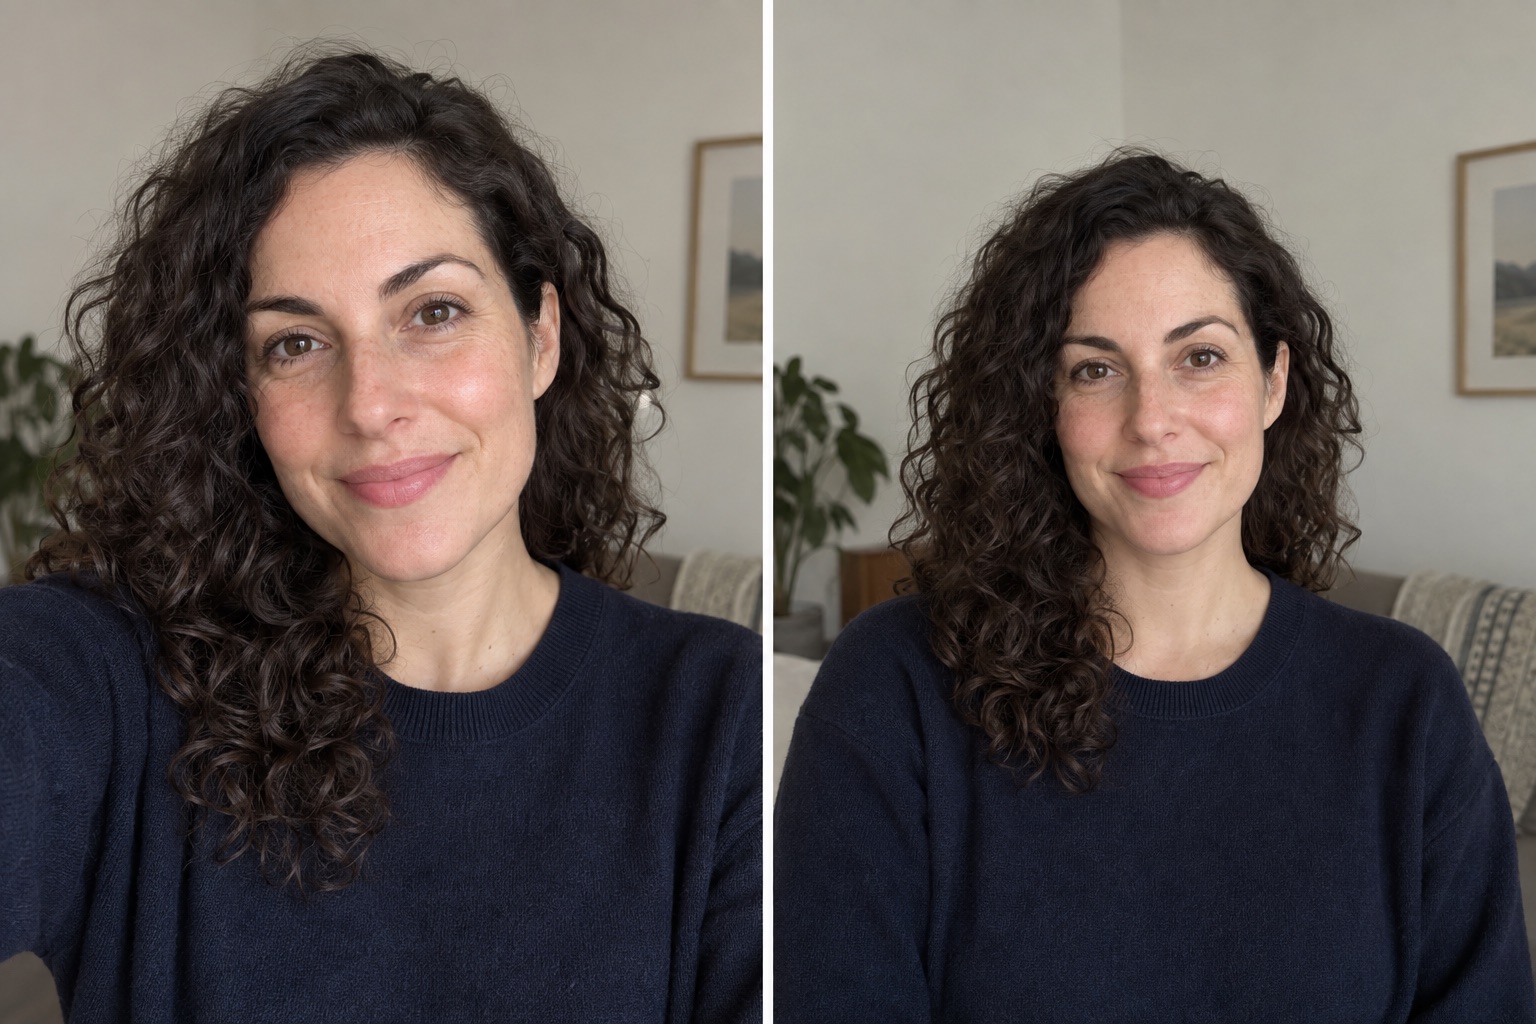
These frames show two ways to set up the phone. They do not measure camera quality.
The extra distance in a supported-phone shot changes the perspective of your face as well as the amount of background. If the close frame looks unfamiliar, step back and crop a test photo to see what changed. For help with light and background, use the selfie setup guide.
Watch for a flipped preview
On iPhone, the iPhone's Mirror Front Camera setting changes whether a saved selfie matches the front-camera preview.3 Pixel selfie mirroring controls can also change how the saved image looks compared with the preview.4 Look at lettering on a shirt or a sign behind you. If it switches sides between preview and saved photo, check the mirroring setting before judging the camera.
Check for a beauty or retouch setting too. On some phones it changes the saved image more than the preview suggests. Leave optional effects at the same setting for both parts of the test.
Pick the image you will actually use
Make a square crop and a taller crop from your two finalists. Look at the square version at thumbnail size, where a clear expression may matter more than the detail you see while zoomed in. For a work profile, compare the crops with headshot examples. If the image will be used as an input photo, check it against the photo selection guide.
Keep the original files as well as the crops. A photo that loses the square-avatar contest may still work for a taller post.