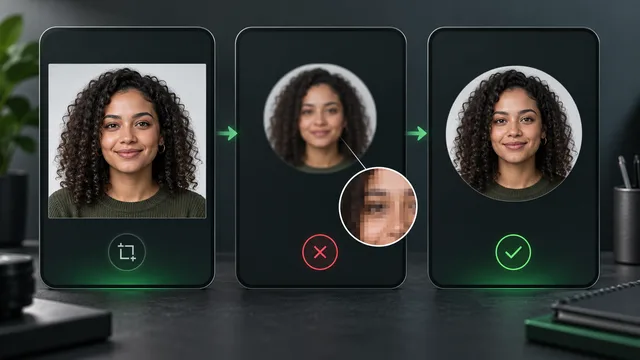
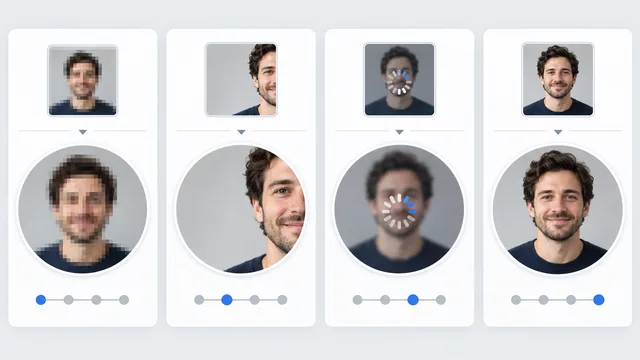
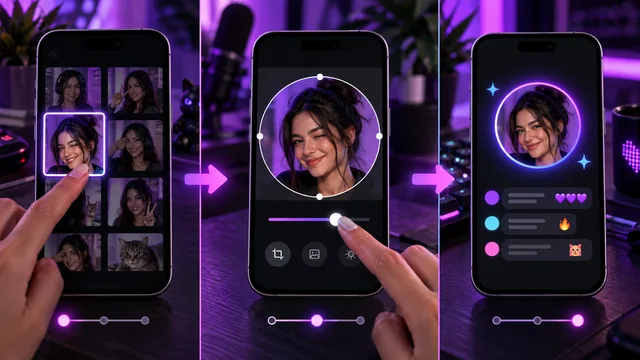
The fastest fix: start from the original photograph, make a clean square crop, keep the face large inside a circular safe area, preview it at tiny avatar size, then upload once on a stable connection. If it is still soft, change one variable instead of exporting random versions.
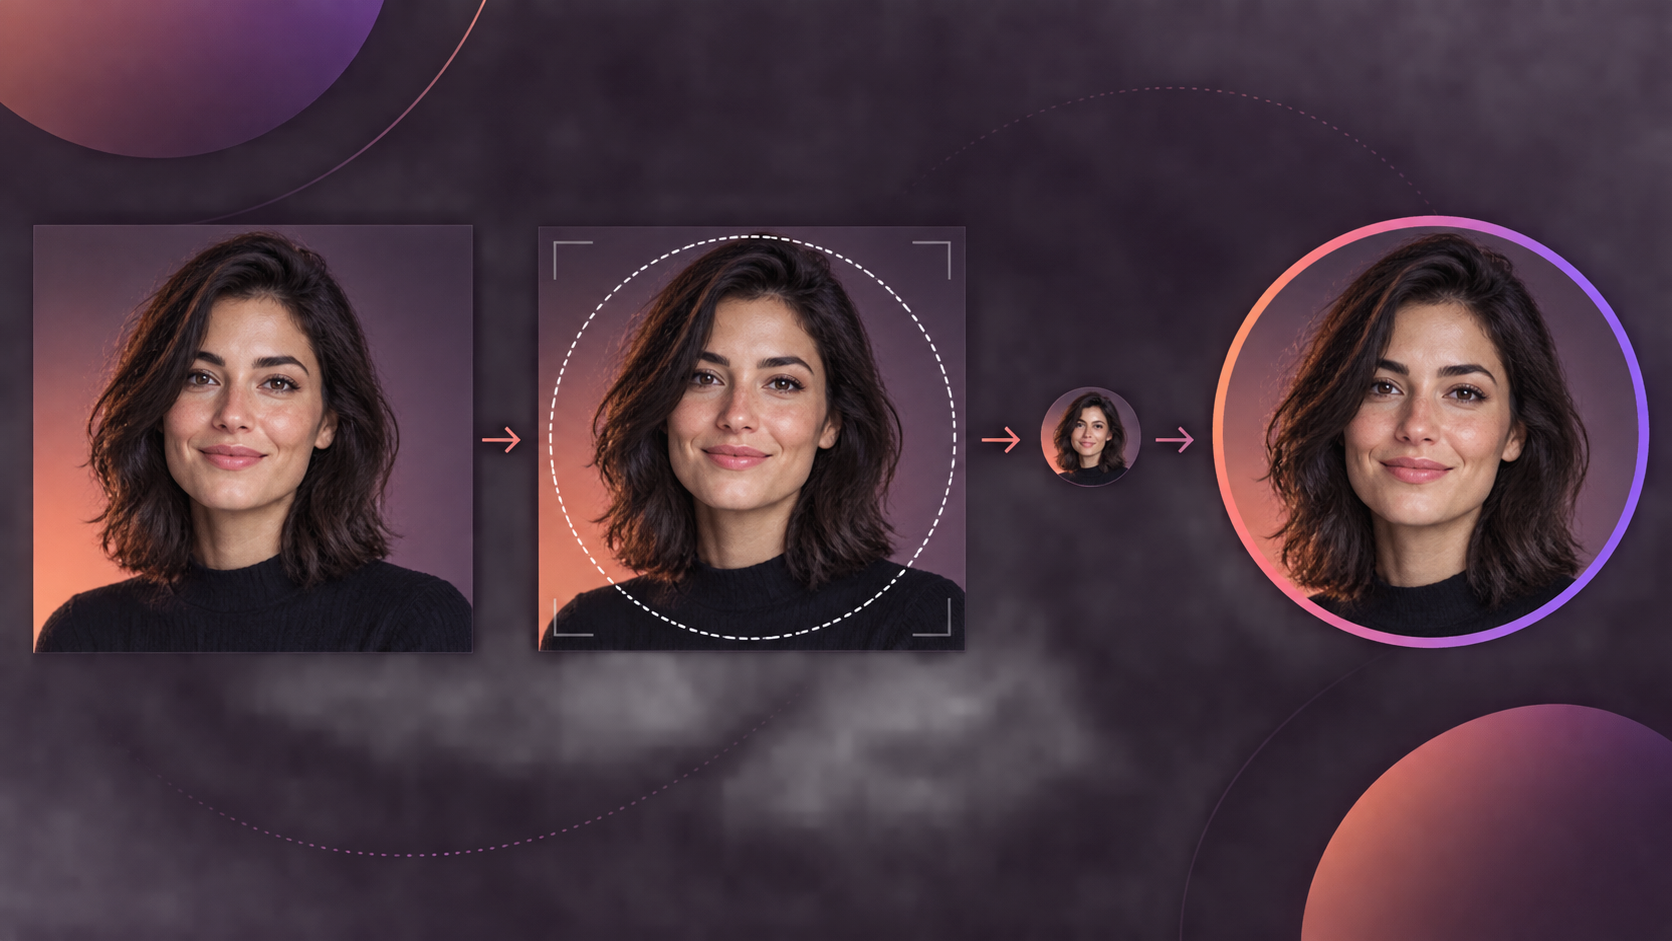
The visual checklist treats the circle and the tiny avatar as separate tests before upload.
Run the ten-second diagnosis
Look at the original in your phone's gallery, then look at the live Instagram avatar.
- Both are soft: choose a sharper original.
- Original is sharp, avatar is blocky: export a fresh square from the master file.
- Face is sharp but hard to recognize: crop tighter.
- Edges or hair are clipped: add safe space inside the circle.
- Only the first preview is blurry: wait for processing and reload before re-exporting.
- Facebook and Instagram changed together: check profile-photo syncing in Accounts Center.
Keep the diagnosis simple. A vague “it looks bad” is difficult to fix; a tiny subject, clipped circle or pixelated source has a specific remedy.
Check 1: return to the original
Do not start from a screenshot, a downloaded thumbnail or a copy saved from a message. Each previous resize leaves the next upload with less real detail.
Open the master file and zoom to the eyes, eyelashes, hairline and clothing edges. If they are not sharp there, pick another frame. Platform settings cannot recover focus that the camera never captured.
Check 2: build a square source
Duplicate the original and crop the duplicate to a square. Keep the face, logo or main subject centered. Instagram displays the profile image as a circle in the interface, so the square corners are not useful space.
Use the visual in this article as a safe-area model:
- Center the eyes horizontally.
- Leave a narrow margin above the hair.
- Keep the chin comfortably inside the circle.
- Remove edge details that become awkward fragments.
- Avoid tiny text and thin decorative marks.
MyPhotoAI's Instagram profile-picture maker can help you create a dedicated square rather than forcing a wide photograph into the avatar.
Check 3: make the subject large enough
Sprout Social's current image-size guide lists Instagram profile images at a very small display size and recommends keeping the subject recognizable at small sizes.1
That matters more than chasing one supposedly perfect upload dimension. A distant full-body image may contain plenty of pixels but still fail as a tiny avatar. For a personal profile, start with a clear head-and-shoulders crop. For a brand, simplify the mark and remove small wording.
Shrink your square on screen until it is roughly comment-avatar size. If the face or logo stops reading, fix the composition before the export.
Check 4: protect the circular crop
The square preview can hide a problem that appears only after the circular mask is applied. Use a circle overlay in an editor or mentally trace the largest centered circle.
Keep these inside it:
- both eyes and eyebrows;
- the mouth and chin;
- the recognizable outer shape of a logo;
- any signature color block;
- enough background to separate hair from the edge.
The general profile-picture maker is useful when you want to compare the same crop across several platforms instead of optimizing in isolation.
Check 5: export a clean copy once
For a photograph, use a fresh high-quality JPEG unless your workflow has a reason to use PNG. For a flat logo with sharp edges, a clean PNG can be a useful comparison.
Buffer's current Instagram image guidance recommends the sRGB color profile to avoid color shifts in supported Instagram workflows.2 Color profile is not usually the cause of blur, but using a conventional web profile removes one more avoidable variable.
Do not export, reopen and export the same JPEG repeatedly. Return to the master file for every new test.
Check 6: upload on a stable connection
Save the prepared square locally, confirm it opens sharply, then upload through the current Instagram app on reliable Wi-Fi or a strong mobile connection. Let the change finish before checking it elsewhere.
If the avatar is soft immediately, close and reopen the profile after a short wait. Then check it at ordinary size, not only by zooming beyond the size at which Instagram displays it.
Check 7: inspect profile syncing
Meta's Accounts Center guidance says profile-photo changes can sync between Facebook and Instagram when that connected experience is enabled.3
If a clear Instagram image changes after you edit Facebook, or the wrong portrait appears on both profiles, inspect the connected profile settings. Decide whether you want one shared identity or separate images before repeating the upload.
The controlled A/B upload test
This is a diagnostic test, not two indexed web pages or two permanent profiles.
Prepare two files from the same original:
A: generous crop
Head and shoulders with moderate background space.
B: tighter crop
Same export settings, but the face occupies more of the circular safe area.
Upload A and inspect the profile plus a comment-size view. If the image is technically sharp but hard to recognize, test B. Because only the crop changes, the result tells you whether composition was the problem.
If both are equally soft, return to source quality, export method, connection or app state.
Mistakes that create false fixes
- Adding heavy sharpening makes halos more visible after resizing.
- Uploading a screenshot starts from an already resized image.
- Placing the face near a square corner guarantees a poor circle.
- Testing a wide crop and a different format together hides the cause.
- Judging only the large profile view ignores the tiny comment avatar.
- Copying another site's exact dimensions without checking the current result treats changing platform guidance as permanent.
Make the portrait work at thumbnail size
Use soft light, a simple background and visible separation around the hair. Avoid a full-body crop for the lead avatar. If you need a polished professional source, see the professional headshot guide or create a consistent set through MyPhotoAI's LinkedIn profile-picture workflow.
Saveable upload checklist
- Original file, not a screenshot.
- Eyes or logo edges sharp at full size.
- Square working crop.
- Face or mark centered inside a circle.
- Subject recognizable at tiny size.
- Fresh export from the master.
- Conventional web color profile.
- Stable connection.
- Current app version.
- Profile sync checked.
- One variable changed per retest.
The aim is not to avoid all resizing. Instagram must display the same profile image in several small contexts. Your job is to supply a clean source and a crop that remains understandable after that resizing.