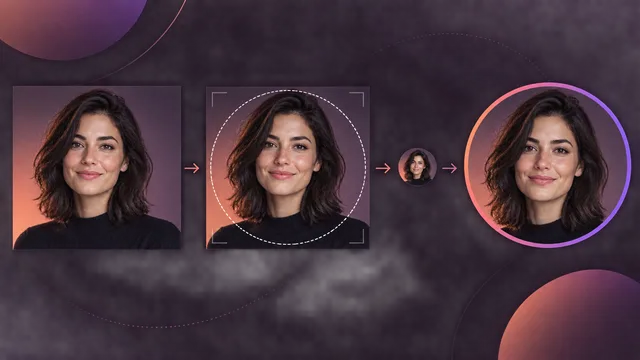
Open Twitch, go to the Profile tab, choose Edit profile, and use the edit control beside your profile picture to select a photo from the iPhone. Crop it, confirm the change, and then check your channel rather than judging only from the editor. If your version of the app does not show the control, update Twitch or use the Creator Dashboard in Safari.
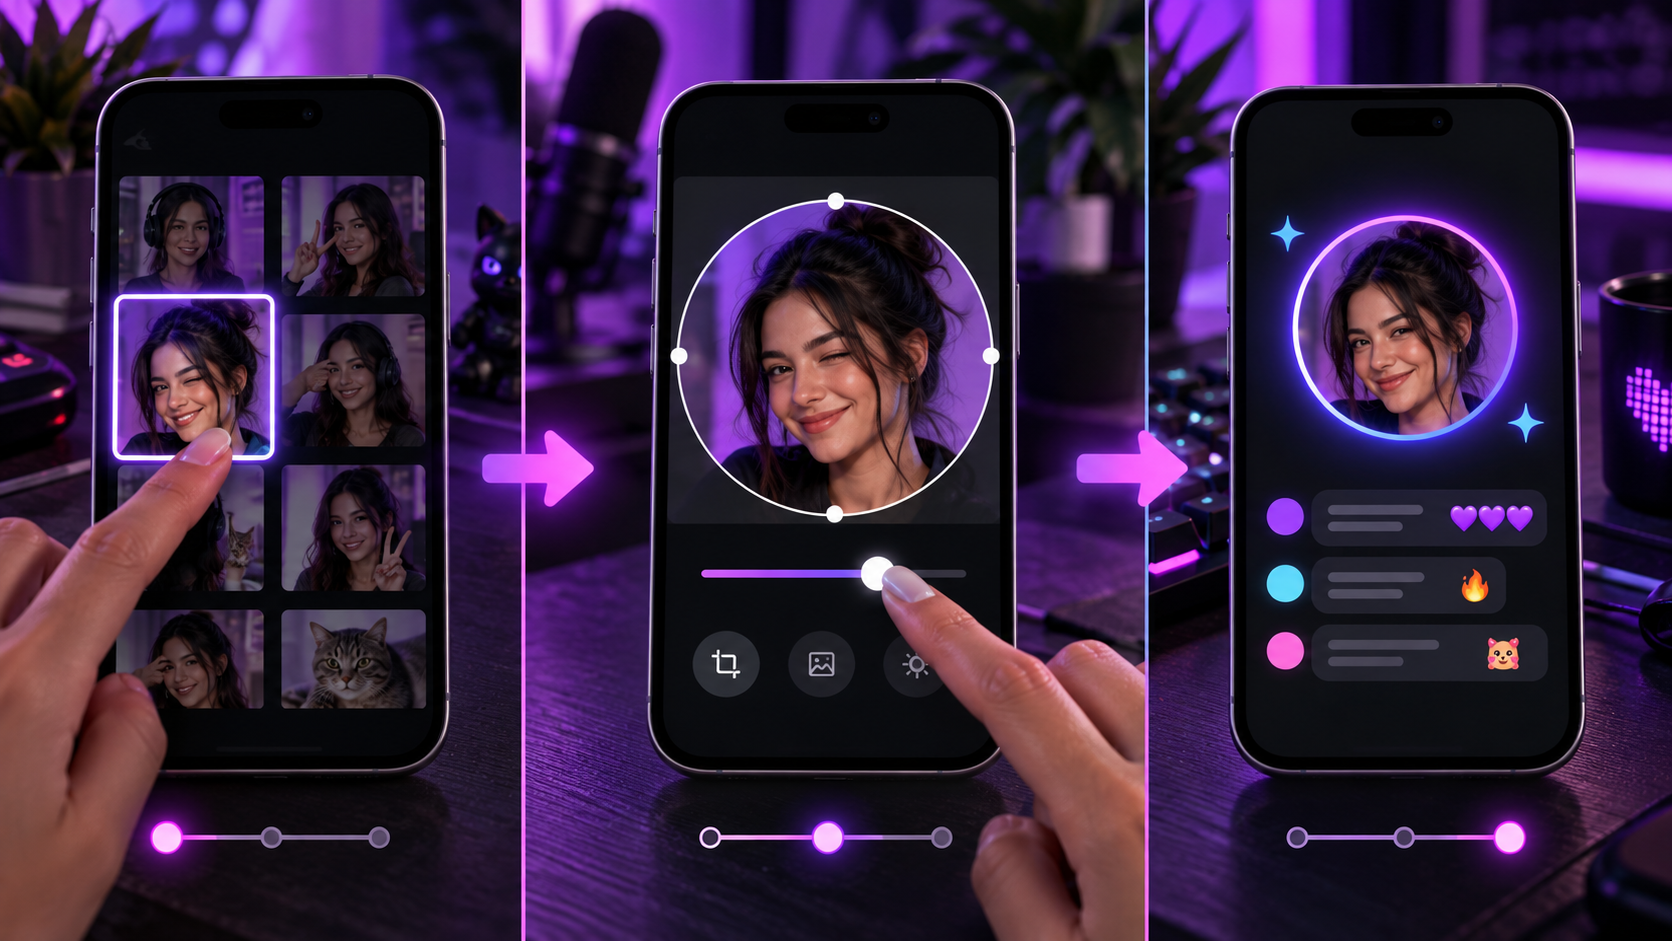
Before you open Twitch
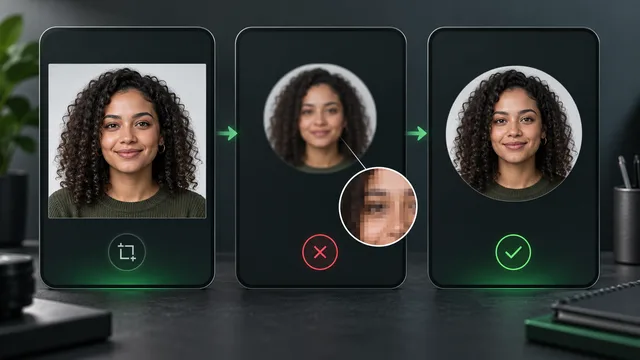
Prepare one square image in the Photos app. Keep the important part of the face or logo near the center because Twitch displays the avatar at several small sizes and may mask it into a circle.
Twitch describes the profile picture as the avatar used wherever your channel identity appears and recommends a source of at least 200 by 200 pixels for quality.1
A practical square master of 512 by 512 pixels or larger gives you room to crop without starting from a tiny file. That is a preparation recommendation, not a claim that Twitch requires exactly 512 pixels. If you need to resize without stretching, use the concepts in the headshot dimensions guide.
Change the picture in the Twitch app
The exact icon placement can move between app releases, but the route follows this sequence:
- Open Twitch and sign into the correct account.
- Tap the Profile tab in the bottom navigation.
- Tap Edit profile.
- Find the profile picture section and tap its edit or pencil control.
- Choose an existing image from Photos, or take a new one if that option is offered.
- Move and scale the crop so the subject stays inside the safe center.
- Confirm the crop and save the profile.
- Return to your channel and refresh it to check the final avatar.
Do not place tiny words, a full-body figure, or a wide scene in the picture. Those elements disappear when the avatar is displayed beside chat messages. The thumbnail-first exercises in the how to be photogenic practice plan can help if you are using a portrait rather than a logo.
If Twitch cannot see your photos
When the picker is empty or the selected image does not load, check iPhone access:
- Open Settings on the iPhone.
- Scroll to Apps, then choose Twitch.
- Review the Photos permission.
- Allow access to the image you want to upload or to the photo library, depending on the privacy choice shown.
- Close Twitch completely and reopen it.
If the picker shows only selected photos, either add the intended image to Twitch's allowed selection or change the access level. You do not need to grant broader access than you are comfortable using.
If the edit control is missing
First verify that you are on your own Profile tab, not viewing the public channel page as another viewer. Then update the app.
Twitch's mobile update guidance recommends keeping both the Twitch app and iOS current for security and compatibility.2
After updating:
- force-close and reopen Twitch;
- confirm the username shown on the Profile tab;
- sign out and back in if the profile controls still appear incomplete;
- try Safari if the in-app editor remains unavailable.
Avoid deleting the app until you have confirmed that you can sign back in and can access your account's verification method.
Use Safari as the fallback route
If the app does not expose the upload control, open Twitch in Safari and sign in. Request the desktop website if the mobile layout does not show Creator Dashboard.
The documented desktop route is:
- Open Creator Dashboard from the profile menu.
- Open Settings, then Channel.
- Select the Brand tab.
- Under Profile Picture, choose Add Profile Picture or the current-image update control.
- Select the prepared image from the iPhone Files or Photos picker.
- Save and return to the channel to check it.
Twitch's Channel Page Setup documentation says the upload accepts JPEG, PNG, or GIF files and caps the profile-picture file at 10 MB.3
That fallback is also useful when the app crop feels too restrictive. Do not use a converted animated file merely because GIF is accepted. A simple, readable still image is usually more reliable across small avatar surfaces.
Fix a picture that uploads but looks wrong
The face or logo is cut off
Return to the square master and add space around the important content. Keep eyes, chin, and logo edges away from the outer corners. Those corners are most likely to disappear in a circular presentation.
The avatar looks blurry
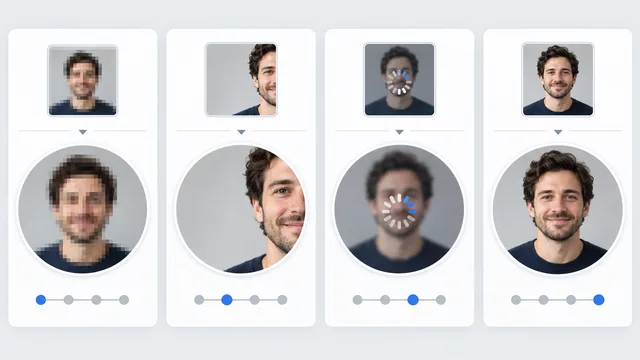
Open the source at full size in Photos. If it is already soft, start from a better original. If it is sharp, export one clean square file rather than repeatedly saving screenshots of screenshots.
The old avatar still appears
Refresh the channel, close and reopen the app, and check the channel in Safari. If the new image appears on one surface, the upload succeeded and another view may be cached.
The upload is rejected
Confirm the file is JPEG, PNG, or GIF and below Twitch's documented 10 MB limit. Re-export the image from Photos as a common format instead of renaming its extension.
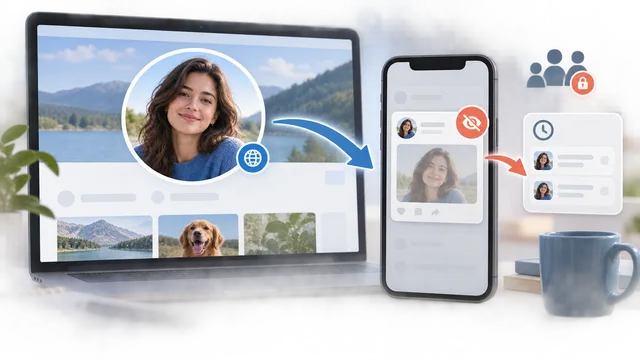
Check the avatar where viewers see it
Inspect three contexts after saving:
- the large picture on your channel;
- a small avatar beside a chat message;
- the channel preview or following list.
A picture can look attractive at full size and still fail as a chat identity. If you need a fresh source image, the Twitch profile-picture maker serves creation intent, while this guide remains focused on upload and troubleshooting.
Save this upload checklist
- Square source prepared before upload
- Face or logo centered with breathing room
- Correct Twitch account confirmed
- Photos access available on iPhone
- App updated if the editor is missing
- JPEG, PNG, or GIF below 10 MB
- Final avatar checked on channel and in a small context
Change the picture once, then verify it across surfaces. That is faster and more reliable than repeated uploads with different crops.