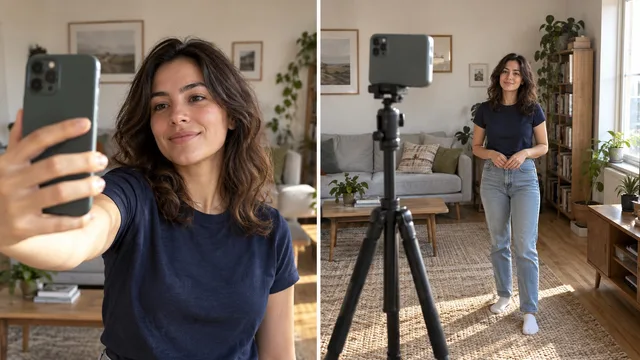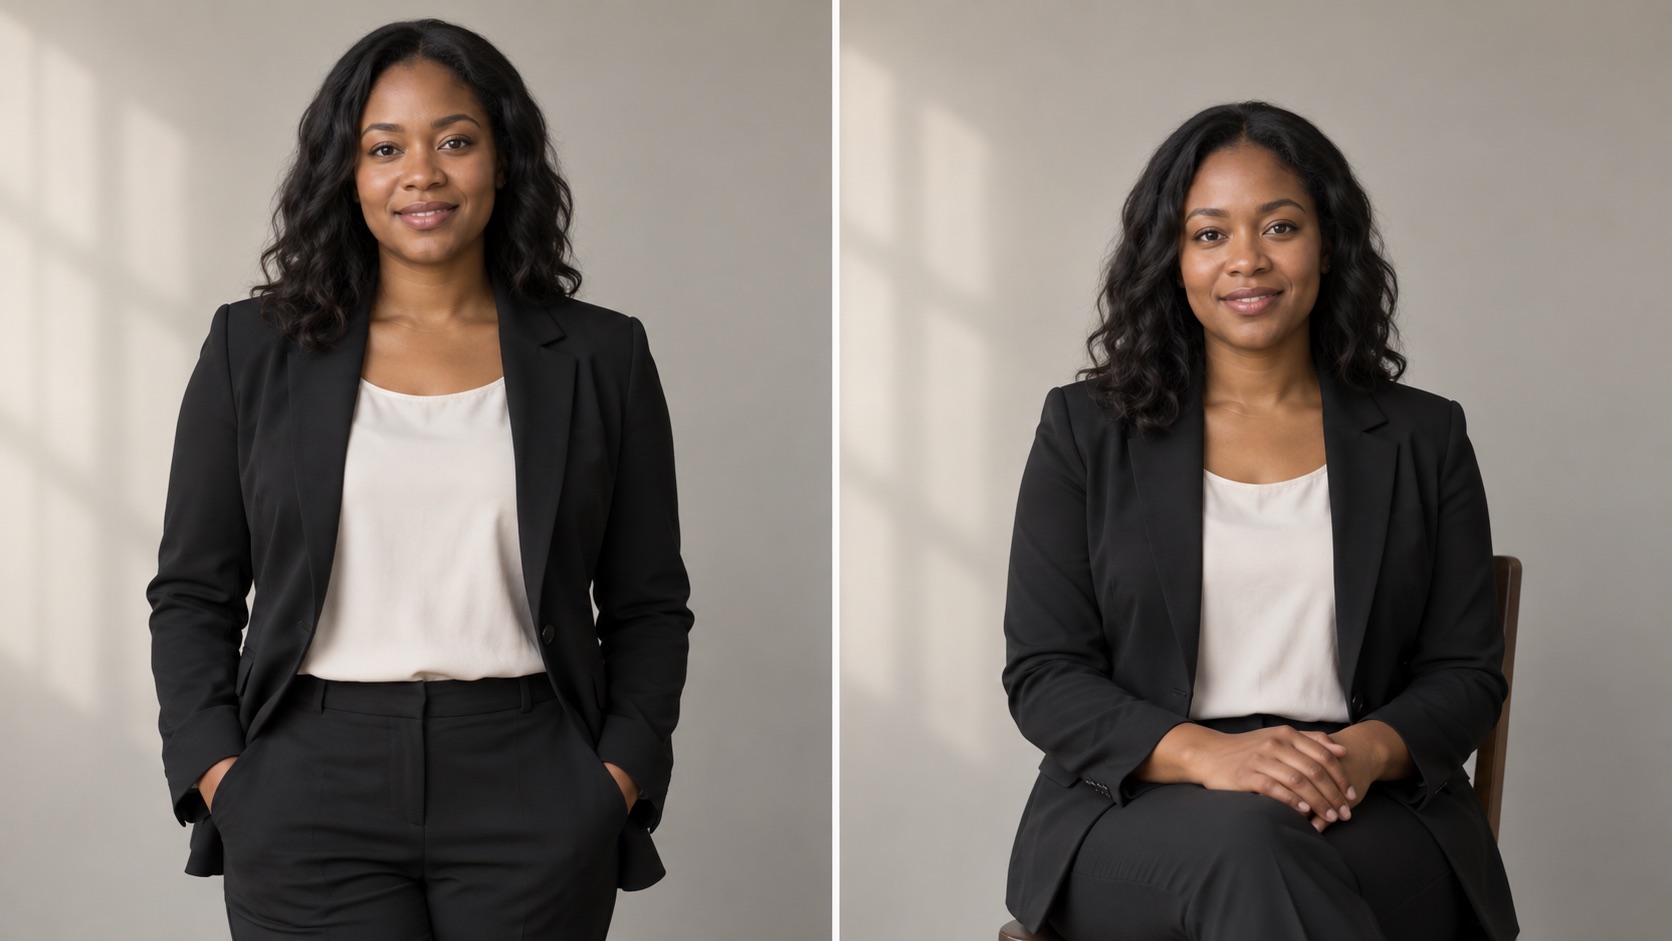
A seated pose feels comfortable until you crop the photo and find a chair back beside your face. A standing pose can feel stiff while you take it, yet look relaxed in the small profile image. Neither feeling tells you what the final headshot will look like.
Take both poses in the same light. Compare them at the size where they will appear, whether that is a square avatar or a wider team bio. For examples of those crops, see these professional headshots.
What changes in the final image?
| Compare | Standing | Seated |
|---|---|---|
| Posture | Easy to step, turn, and reset | Easy to hold position, but a chair may encourage slouching |
| Hands | Usually outside a tight crop | Can rest on lap or chair, also often outside the crop |
| Camera height | Raise the phone to eye level | Lower the phone to eye level |
| Best test | Relax shoulders after each frame | Check feet, back, and shoulder tension |
Headshot photographer Steven Cotton sometimes seats a taller client to bring the camera to eye level.1 In your own comparison, adjust the phone height for each pose so the camera still meets your eyes.
Adobe's seated-pose guidance recommends a chair that supports good posture and lets feet reach the ground.2 If your feet dangle from a high stool, try a different chair or stand. You should be able to relax your legs while the photo is taken.
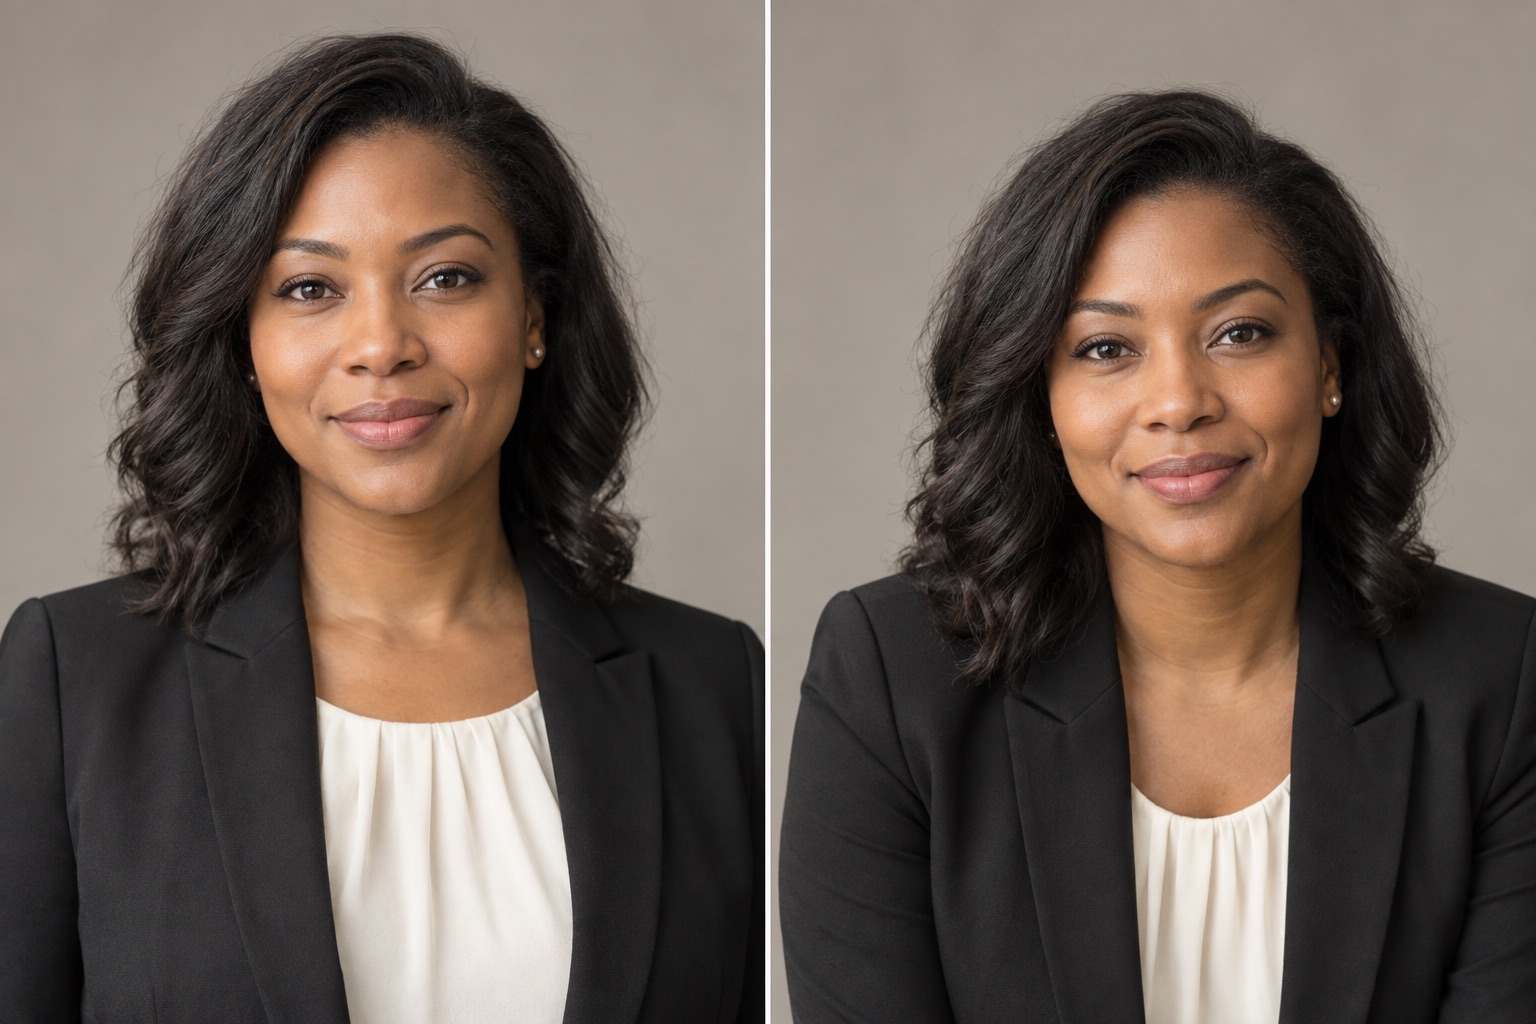
These illustrative crops show how little of the pose may survive in a headshot. Compare your own photos before deciding.
Make a matched test in ten minutes
Keep the phone, light, clothing, and background the same. Bring the camera to eye level for each pose. Take three standing frames, then three seated frames. Crop the best of each to the same head-and-shoulders size. Look at the eyes and expression first, then the shoulder line and space around the head. If the chair back appears near your ear in the seated crop, move it or change the angle for one more frame.
Apple's grid and level tools can help keep a repeatable camera frame while comparing two poses.3 If you are shooting alone, mark where the chair and your standing feet go. You can return to those marks if a frame is blurry.
Watch the camera distance when you sit down. Adobe's phone portrait guide emphasizes camera distance and composition, which matter in both standing and seated frames.4 If you move the phone much closer for one pose, you are testing distance too. Return it to a similar position and make another frame.
Choose for your use case
In a small work avatar, the chair may disappear. In a wider team bio, the arms and chair back may become part of the picture. Make a square and a rectangular crop from each finalist before choosing which file to upload.
If one photo needs a severe crop to hide an awkward arm or chair edge, keep the other. If you plan to use the portrait as an input image, the photo selection guide covers focus, obstructions, and other reasons to reject a frame.